Git Version
To check the git version
Git -v

To clone the repository, use the following command:
Git clone [url]

Get into the directory using the following commands:
Cd [folder name]

Now let’s create a new file to add it to our GitHub repo
using the following command:
Fsutil file createnew sample.txt 0 [where 0 is the file length]
Git Status
By using the next command, we can check which all files are
newly created/modified but not yet added into the repo
Git status
*The files marked in red are untracked files which are yet
to be added into the git for commit

Git Add
To add the files for commit we need to make use of the
following command
Git add filename
Git status

To remove the files added to the stage but not yet committed
use the following commands:
Git restore --staged filename
Git status

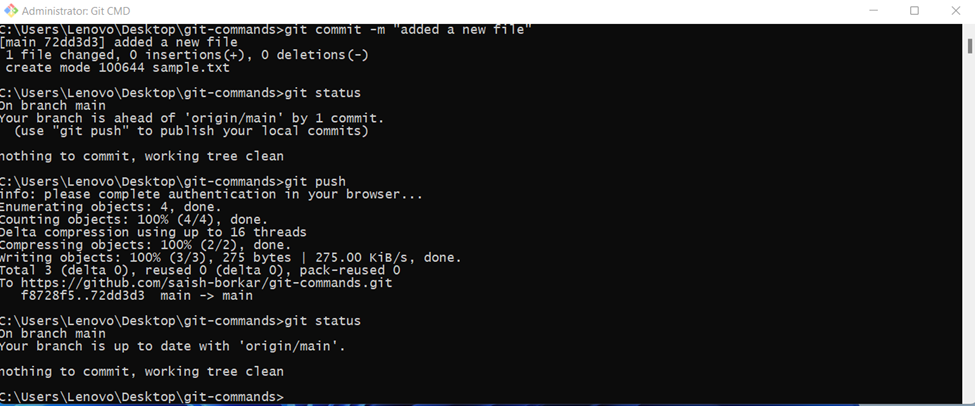
Git Commit
To commit the file into the GitHub, use the following
command:
Git commit –m ‘your comments go here’
Git Push
To add the file into the main repository, use the following
command
Git push
Git Pull
To get the latest changes use the following command
Git pull

Git Log
To get the log info use the following command
Git log

Git rm [To remove the file]
To remove the files from repo
Git rm filename
Git status

Git commit –m ‘reason to remove’
Git push

To list all the branches
Git branch
To create a new branch
Git branch [branch name]
Git branch

Git Switch
To switch between branches
Git switch [branch name]


